We are all using Mobile Apps we download from Google Play – and use them every day.
But -do we ever think about the developers?
I do – especially since I developed a Mobile App on my own 🙂
What did I build?
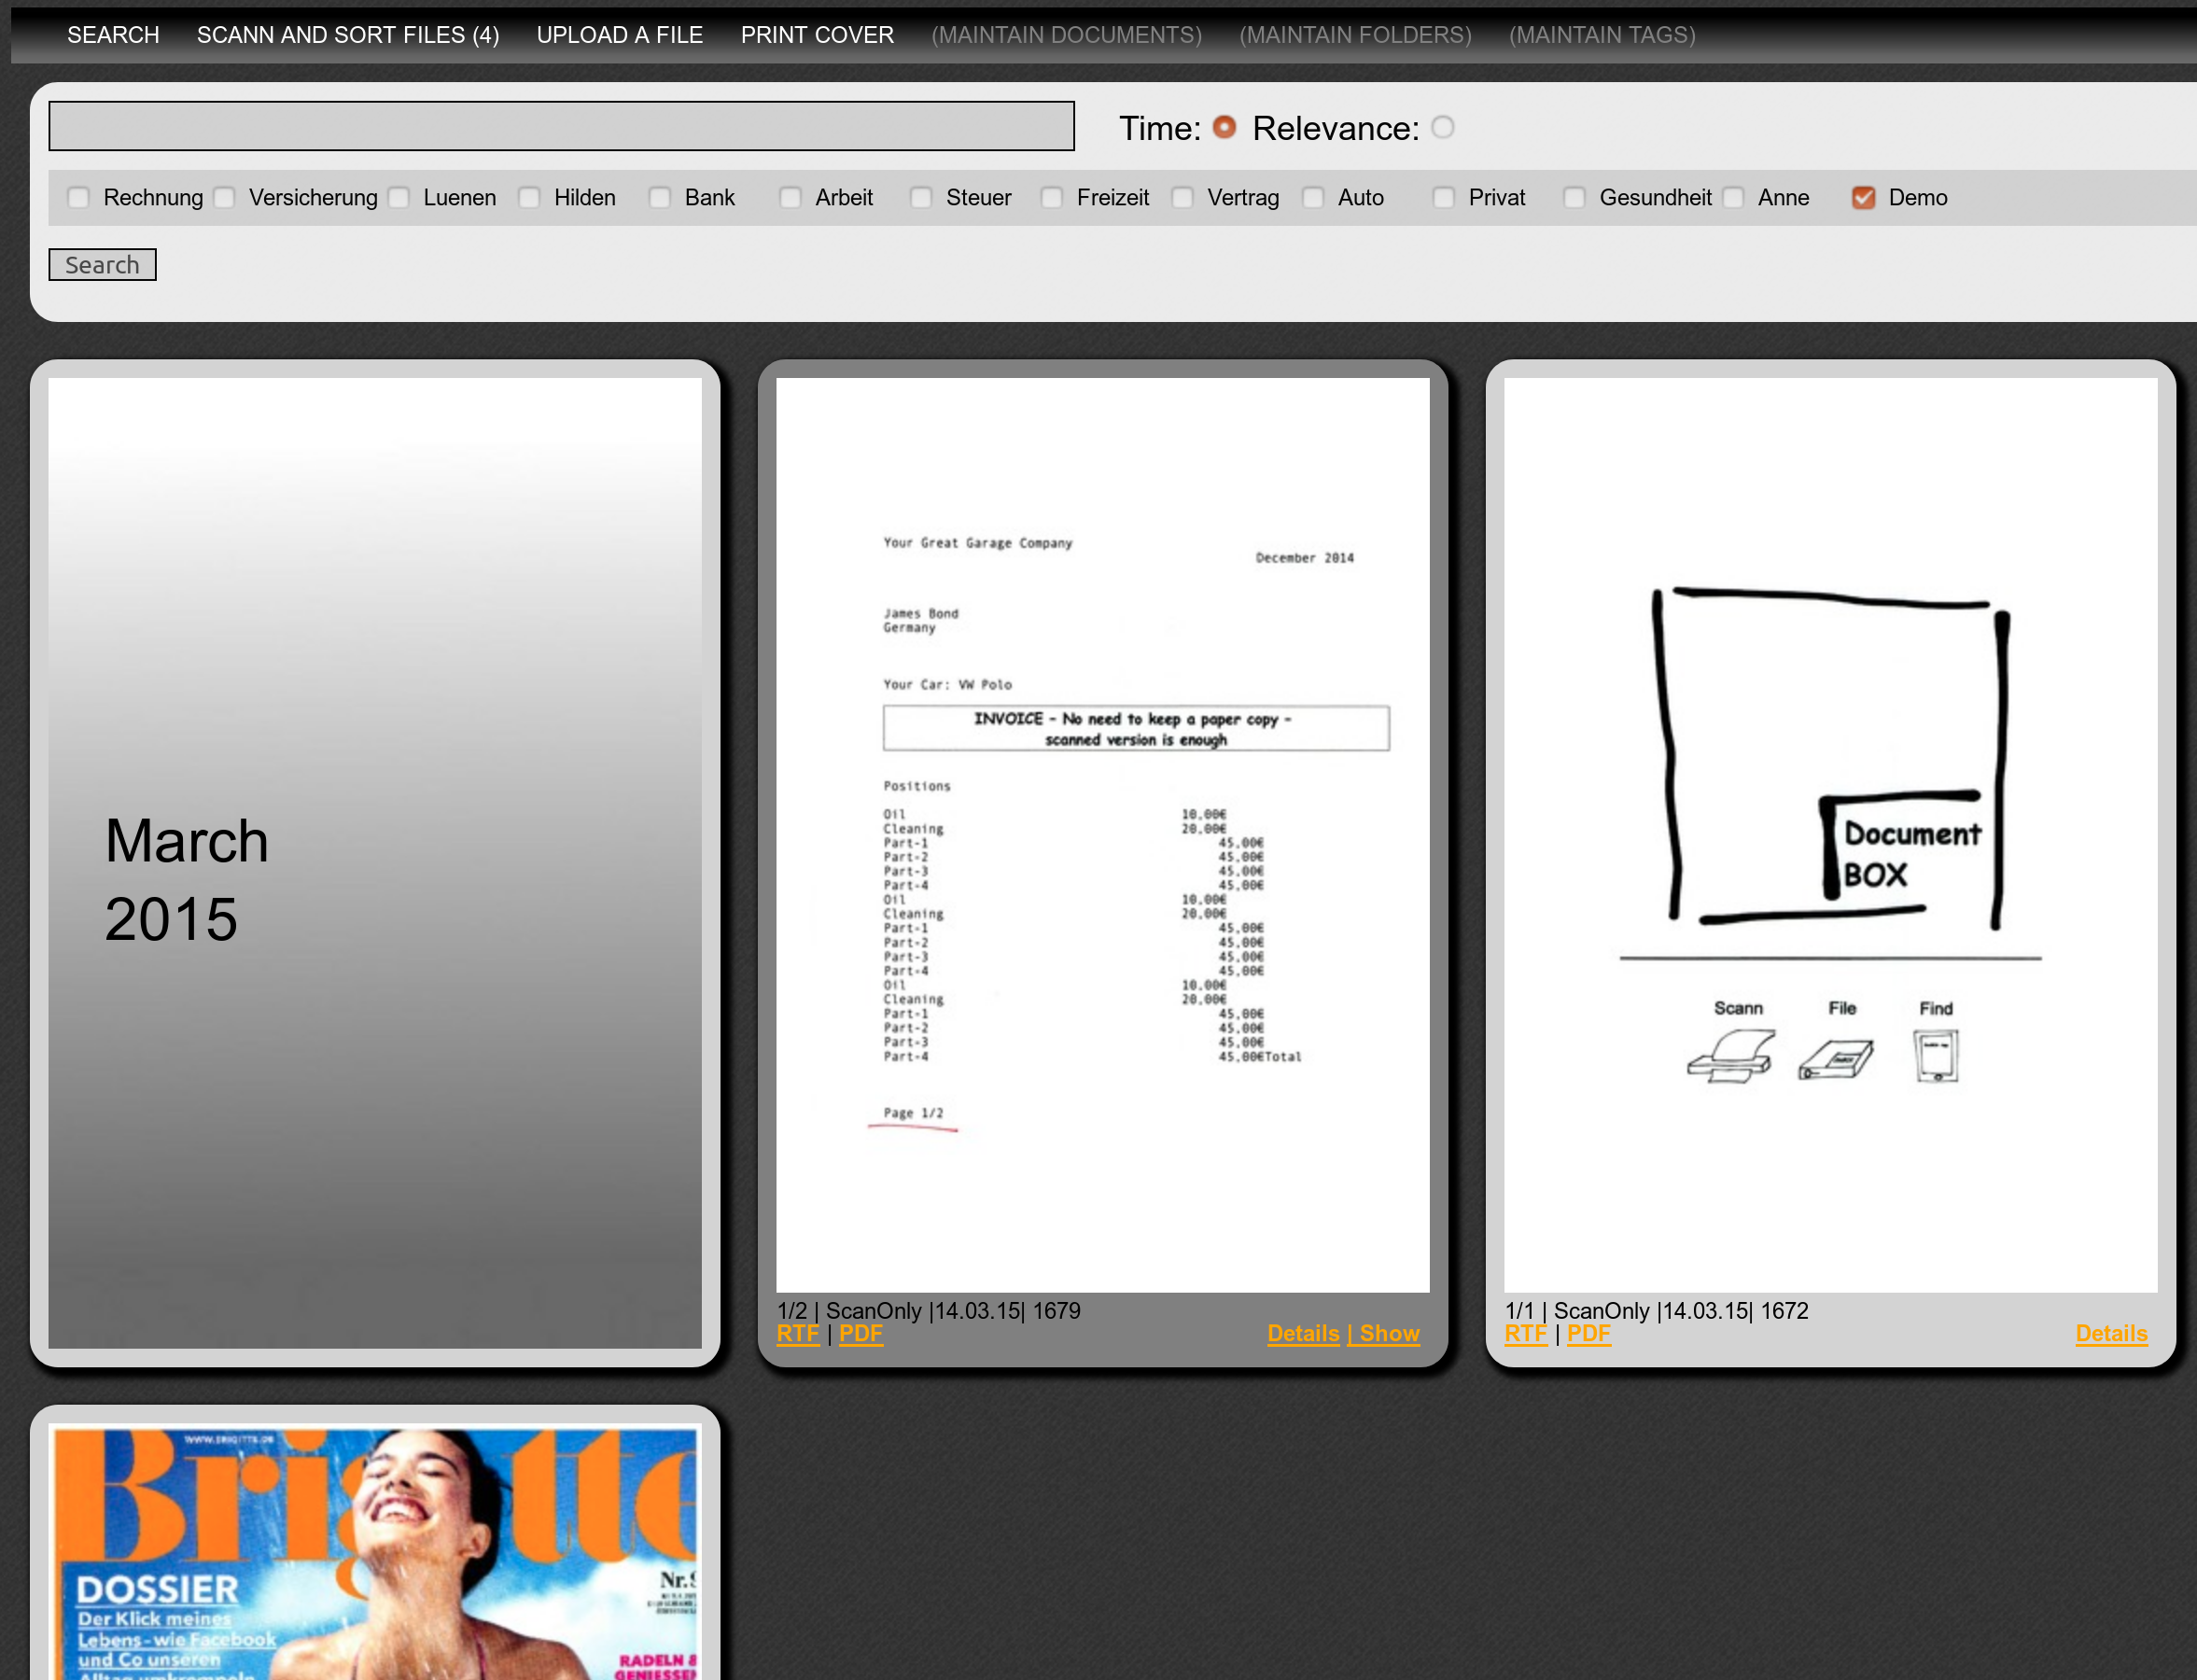
I love my little document management system “DocBox” (read more here: DocBox) – that I wrote some time ago in RubyOnRails and that is running on a Raspberry Pi (BigPi – a Raspberry Pi 4 with SSD as HomeServer).
The Mobile-App is used to take pictures from documents that I want to keep or archive, especially when I am away and I don’t have access to my scanner. Back at home, I upload these documents directly to my DocBox. So my Mobile App does:
- Scan (take a photo) and edit the picture
- Store Picture on the phone until back at home
- Back at home – upload all saved pictures to the DocBox server
- Only upload data to DocBox, when we are in a verified Wi-Fi network and when a DocBox server is available.
- Allow maintenance of a list of allowed Wi-Fi network and DocBox server via setting
- Do *not* upload anything to Google, Facebook and do *not* store my data anywhere else!!!
Doesn’t sound to complicated…maybe a rainy Sunday?
How did I do it?
Its best to start by using the IDE/ tool-chain called “Android Studio”, that can be downloaded here.
Android Studio is provided by Google and is developed by JetBrains. Its an Integrated Development Environment and handles everything (Coding, Code-Completion, Refactoring, Debugging, Testing, Resource Management). Once you installed it, you can start with an empty template app or example app.
To try the mobile app you just have developed, you can use a simulator that’s running on your PC (you can even select the model of phone you want to simulate) or you connect a normal mobile phone with USB-Debugging enabled. Voila….
You can choose between 2 different programming languages, JAVA or Kotlin. Kotlin is a “new programming language” developed by JetBrains. Its object oriented, cross-plattform and statically typed. Personally I think that programs written in Kotlin are much better readable. At the end the Kotlin program is also compiled to run in to a JVM, not much of a difference to Java. So I learned Kotlin.
To give you some impression, I picked one simple activity – see below some Kotlin code (its for Android 10) – it does a lot:
- It creates the setting screen for the servers IP address in the “onCreate” activity
- It gets all the ID of the graphical elements, so you can access them from the program
- It opens a preference key-value database to store the IP address permanently on the phone (only accessible from the app)
- It set’s up a listener, that is waiting for a button, when this button is clicked it:
- It calls the DocBox server and checks if it is available
- Finally it update the correct IP address in the database and returns to the main menue
I think, the APIs provided by Google, together with the Kotlin language do a great job to allow clear and structured coding:
class SettingsSetServer : AppCompatActivity() {
    internal val context: Context = this

    override fun onCreate(savedInstanceState: Bundle?) {
        super.onCreate(savedInstanceState)
        setContentView(R.layout.activity_settings_set_server)

        setSupportActionBar(toolbar)
        supportActionBar?.setDisplayHomeAsUpEnabled(true)

        val ipAddress = findViewById<edittext>(R.id.ip_address)
        val serverStatus = findViewById<textview>(R.id.server_status)
        serverStatus.text=""

        // Read current IP address from Preferences and update on GUI
        val sharedPref = getSharedPreferences("com.db.mobile.pref", Context.MODE_PRIVATE)
        val oldIpAddress = sharedPref.getString("docboxserver","")

        ipAddress.setText(oldIpAddress)

        // **************************************************************************
        // Update IP address if changed with new IP address

        ipAddress.setOnClickListener {

            val newIpAddress =ipAddress.text
            var error=false

            runBlocking {
                try {
                    Fuel.get("http://$newIpAddress:$DOCBOX_PORT/cd_server_status_for_mobile").awaitStringResponse()
                } catch (exception: Exception) {
                    serverStatus.text="No connection to Server"
                    error=true
                }
            }

            // if no error, update new IP address in preferences
            if (!error) {
                with (sharedPref.edit()) {
                    putString("docboxserver", newIpAddress.toString())
                    commit()
                }
                finish()
            }
        }
    }
}</textview></edittext>
How did it go?
Lets start with the good news:
- Kotlin was new to me, so I had to get used to the specialities of this language – but its very consistent – good exercise.
- I have used other IDEs from JetBrains, so I knew the concept and had a quick start
- To get the first app running takes only some minutes
- Google is your friend, 90% of all questions have been already solved!
Here comes the bad:
- You need to decide for which Android version the app should run, each version Google comes up with new features – but also depreciates old ones. Its a nightmare to find out -what you need to do. Upgrading and keep an app recent for sure is HARD WORK.
- Android is separating programming logic and views and resources very strict. Its using Activities to control different screens. Each Activity has a live-cycle. Its core to understand this underlying principles. That takes time.
- Many configuration files (manifest.xml, gradle) can be adjusted, and everything can be configured. It just should be correct.
- All is multi-threading, threads communicate and impact each other – can be quite confusing at the beginning – for me that was the biggest challenger!
- The 10% of the questions, that are not solved via Google-Search – are really a problem. You can get really, really stuck!
- …..
Conclusion
In total it took me much longer then expected, I got into one problem where was no solution in the Internet – and that took time to solve. Also at the end the solution was so easy, just one line of code 🙁
I have my full respect for people writing apps for free, putting them in the play-store and keep them even up-to-date. THANK YOU!!!
But on the other hand – mobile app development is not a miracle – if someone starts charging you 100k€ for an app like mine – start thinking.
By the way, my DocBox-Mobile is not in GooglePlay – but you find it on GitHub:
https://github.com/happychriss/DocumentBox-Mobile
If you want to see it all, check out the full project: DocBox